How to Use a Soil Temperature Probe
A soil temperature probe turns a hidden condition into a reading you can use. That matters because air temperature can rise quickly while the soil around a seed remains cold. Iowa State University Extension and Outreach’s corn-planting guidance uses soil temperature near 50°F (10°C) as a practical planting reference. The exact threshold varies by crop, seed variety, moisture, and local conditions. A single warm afternoon is not enough. Check the soil where the seed will sit, not just the surface.
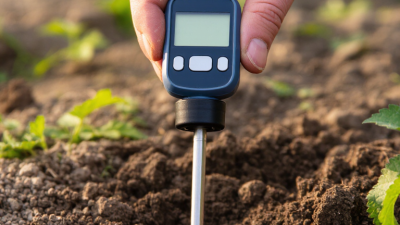
The USDA Natural Resources Conservation Service’s Soil Survey Manual classifies soils partly by their temperature regimes. That broader framework shows why one reading cannot represent every bed or field. For a useful measurement, insert the probe to the intended planting depth, wait for the display to stabilize, and record the location, depth, and time. Take readings in several spots. A shaded edge, raised bed, and compacted row can differ noticeably. Keep the sensor away from stones and avoid touching it while the reading settles. Small details matter.
A probe is simple, but not magic. Calibration, insertion depth, and timing affect the result. Read the manufacturer’s instructions, especially for waterproofing and cleaning. Compare repeated measurements over several days before making a planting decision, and follow crop-specific local guidance. The first reading may surprise you. That is useful, too: it can reveal where your assumptions need checking.
Choosing the Right Soil Temperature Probe
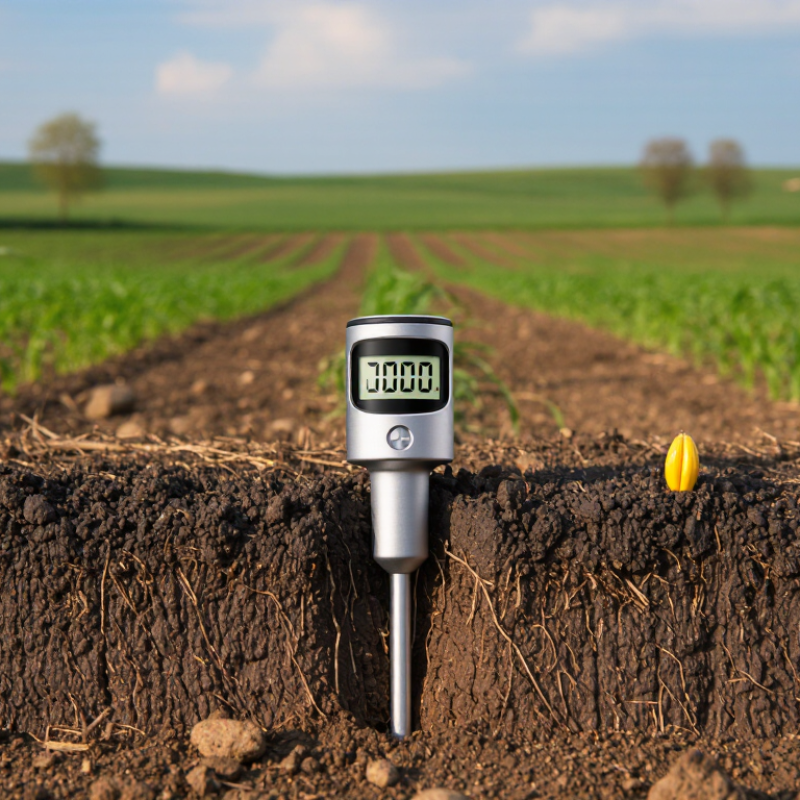
Choosing the right soil temperature probe starts with the depth you need to measure. A short probe works well for shallow seedbeds, while a longer stem reaches deeper root zones. Check the stated measurement range and accuracy against your crops’ needs. A clear display helps in bright outdoor conditions. A simple design is often easier to clean.
Match the probe to your soil and routine. In compact or stony ground, a sturdy, narrow shaft is less likely to bend. For frequent readings, choose a model with a quick response and a grip that stays comfortable with gloves. Water resistance matters, but do not assume it can be left outdoors. I have found it easy to focus on extra features and overlook the probe’s length. That is worth reconsidering. Check calibration guidance and care instructions before buying; dependable readings rely on both the instrument and consistent use.
Tips: Insert the sensing area fully, and wait for the reading to settle. Measure at the same depth each time, away from direct sun on the probe. If results seem unusual, take a second reading nearby and check the instrument’s instructions. A small difference can reflect real variation in the soil.
Preparing the Soil for Measurement
Before using a soil temperature probe, choose a spot that represents the bed—not a sun-baked edge or shaded hollow. Remove loose leaves, stones, and surface mulch where you plan to insert it. Don’t scrape away the soil itself; that can expose warmer or cooler ground and skew the reading. Small details matter. If the soil is very dry or waterlogged, note that condition, since it may affect probe contact and make comparisons less useful.
Decide the measurement depth before you begin, then keep it consistent across readings. The USDA Natural Resources Conservation Service’s Soil Climate Analysis Network (SCAN) publishes soil-temperature observations at 2-, 4-, 8-, and 20-inch depths, underscoring how much depth shapes the data. For a garden decision, follow the crop’s recommended depth rather than copying a monitoring station blindly. Push the probe into firm, undisturbed soil, avoiding air pockets; wait for the display to settle. Not too wet. Take readings in several representative places and record depth, time, and weather. A single reading can look reassuring, though I would not trust it alone. If the probe meets a stone or feels unusually loose, choose a nearby spot and try again.
How to Use a Soil Temperature Probe — Preparing the Soil for Measurement
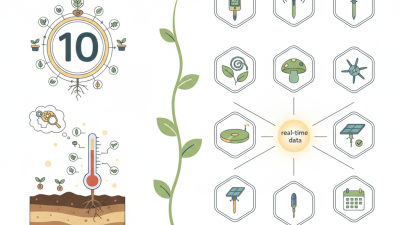
Clear away surface debris without disturbing the soil, then insert the probe to the same depth at each location. Wait for the reading to stabilize before recording it. These illustrative sample readings show how temperature can vary with depth; actual results depend on weather, soil type, moisture, and time of day.
Inserting the Probe at the Correct Depth
Depth matters.
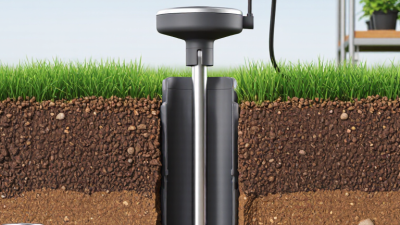
Insert the probe so its sensing section sits at the depth relevant to your planting decision. For seeds, that usually means measuring near the intended sowing depth, not just at the surface. Shallow-seeded crops may need a reading around one or two inches down; deeper planting or root-zone checks call for a deeper measurement. Follow crop-specific guidance when available.
Push the probe gently into firm soil, keeping it straight. If it hits a stone or dense root, move it slightly rather than forcing it. Make sure the sensor is surrounded by soil, with no large air gap around the shaft. Wait for the display to settle before recording the temperature; some probes respond more slowly than others.
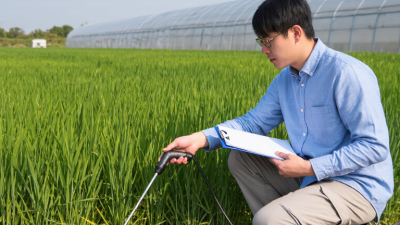
Take readings in several spots, especially where shade, wet ground, or sun exposure differs. It is easy to rush this step. A single reading can feel reassuring, but it may not represent the whole bed. I would note the depth and time alongside each result, then repeat measurements at the same depth on later days. Consistency makes comparisons more useful, even when the numbers are not perfectly uniform.
Reading and Recording the Temperature
A soil-temperature reading is useful only when its depth and timing are recorded with it. Push the probe into undisturbed soil at the chosen depth, keeping the sensing section fully covered. Wait until the display settles; readings can shift as the sensor adjusts. Record the value, units, date, time, depth, and exact spot. A simple field note might read: “18°C, 10 a.m., 5 cm deep, north bed.” Small details matter. Avoid comparing a sunny afternoon reading with a shaded morning reading as though conditions were identical.
The USDA Natural Resources Conservation Service’s Soil Climate Analysis Network records soil temperatures hourly at depths of 2, 4, 8, 20, and 40 inches. That range shows why depth belongs in every record: surface soil and deeper layers can tell different stories. For repeat checks, use the same location and depth, and keep the probe away from stones or fresh compost. I sometimes want to take a quick reading and move on, but inconsistent placement can make the number less useful. Note unusual conditions too, such as recent rain or strong sun. The record may look a little untidy, yet honest context is better than false precision.
How to Use a Soil Temperature Probe - Reading and Recording the Temperature
| Date |
Time |
Location |
Probe Depth |
Soil Condition |
Temperature |
Reading Notes |
| April 12, 2026 |
8:00 a.m. |
Vegetable bed, east side |
2 in (5 cm) |
Moist, partly shaded |
53.2°F (11.8°C) |
Waited for the display to stabilize before recording. |
| April 12, 2026 |
8:05 a.m. |
Vegetable bed, east side |
4 in (10 cm) |
Moist, partly shaded |
55.0°F (12.8°C) |
Probe inserted vertically into undisturbed soil. |
| April 12, 2026 |
8:12 a.m. |
Open lawn, south side |
2 in (5 cm) |
Slightly damp, sunny |
56.1°F (13.4°C) |
Reading taken before direct sun warmed the soil surface. |
| April 12, 2026 |
8:17 a.m. |
Open lawn, south side |
4 in (10 cm) |
Slightly damp, sunny |
54.9°F (12.7°C) |
Deeper soil was slightly cooler than the shallow reading. |
| April 12, 2026 |
8:25 a.m. |
Compost bed, north edge |
2 in (5 cm) |
Damp, covered with mulch |
59.0°F (15.0°C) |
Moved mulch aside, then measured the soil beneath it. |
| April 12, 2026 |
8:30 a.m. |
Compost bed, north edge |
4 in (10 cm) |
Damp, covered with mulch |
57.7°F (14.3°C) |
Probe was cleaned before moving to the next location. |
Recording tip: Measure at a consistent depth and time of day, allow the reading to stabilize, and note moisture, shade, and recent weather conditions.
Cleaning and Storing the Probe
After each reading, wipe soil from the probe shaft with a damp cloth. Use mild detergent if clay or organic residue remains, then rinse with clean water. Avoid abrasive pads; scratches can trap soil and complicate later cleaning. The junction between shaft and handle deserves attention. It is easy to miss.
For fieldwork across different beds or plots, clean the probe between locations. The U.S. EPA’s Soil Sampling operating procedure includes equipment decontamination as part of sampling practice. This helps limit carryover between samples. The FAO’s 2015 Status of the World’s Soil Resources report estimated that about 33% of soils were moderately to highly degraded. That figure is not about probes, but it underscores why careful soil measurements matter. Dry the probe fully before storage, especially around seams. Keep it in a clean, dry case, with the sensing tip protected from knocks. Do not leave it buried in soil or soaking in water. Check the cable and tip before the next use. A small crack can be easy to overlook. Follow the instrument’s care instructions if they specify a different cleaning method.