






How to Use a Soil Temperature Probe?

A soil temperature probe turns an unseen condition into a reading you can use. But the number only helps when the measurement is consistent. Soil temperature changes with depth, shade, moisture, and time of day. A probe placed in a sunny patch may tell a different story from one beside a damp, shaded bed.

Purdue agronomist Dr. Robert Nielsen is a relevant authority on field-based crop decisions. The line below is an editorial paraphrase, not a verified quotation: “A probe gives one reading; good decisions need field context.” Keep that distinction in mind. This guide explains how to choose a representative spot, insert a soil temperature probe to the depth that matters, and wait for the display to stabilize. Small details matter. Press the probe into firm soil rather than an air pocket, and avoid touching a warm metal shaft while taking the reading. Record the depth, location, time, and recent weather. Those notes make tomorrow’s measurement more useful.

The process is simple, but not perfect. Soil can vary sharply across a few feet, and inexpensive probes may respond slowly or need checking against a trusted reference. Don’t treat one reading as a guarantee. Use repeated measurements to understand the conditions where seeds or roots actually sit. A little patience helps.
How to Use a Soil Temperature Probe?

Understanding the Parts and Purpose of a Soil Temperature Probe

How to Use a Soil Temperature Probe?

Understanding the Parts and Purpose of a Soil Temperature Probe

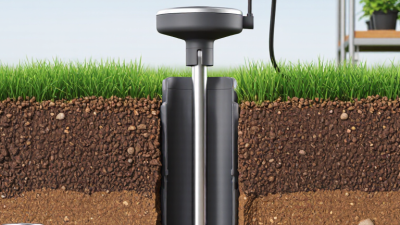
A soil temperature probe turns an invisible condition into a reading you can use. Its sensing tip detects heat; the shaft places that tip at a chosen depth. A handle helps you push it into the ground, while a dial or digital display shows the result. Some models use a separate cable and sensor. Check the instructions, since probe designs differ. Keep the tip clean, and avoid forcing it through stones or compacted soil.

Depth matters. A reading near the surface can change quickly with sun, wind, and watering. For a useful comparison, insert the probe to the same depth each time, wait for the display to settle, and measure in several spots. One number can be misleading. USDA NRCS’s Keys to Soil Taxonomy, 13th edition, classifies soil temperature regimes using measurements at 50 centimeters; its mesic range is 8–15°C, and its thermic range is 15–22°C. These are classification bands, not universal planting targets. A probe reading also reflects the exact place and moment sampled. Even careful technique has limits. Soil moisture and recent weather can shift the result, so record both alongside the temperature.

Choosing a Suitable Measurement Location and Depth

Choose a measurement spot that represents the area you care about. For a garden bed, sample among the plants rather than beside a path, wall, or compost pile. These features can warm or cool the soil unevenly. Avoid unusually shaded or wet patches unless those conditions are your focus. Soil temperature changes with depth, so place the probe in the active root zone or at the depth relevant to your task. For planting decisions, follow crop-specific guidance; a shallow reading may not reflect conditions around deeper roots.

Tips: Measure in several nearby spots. Keep the depth consistent. Note the time and recent weather. Small differences matter.

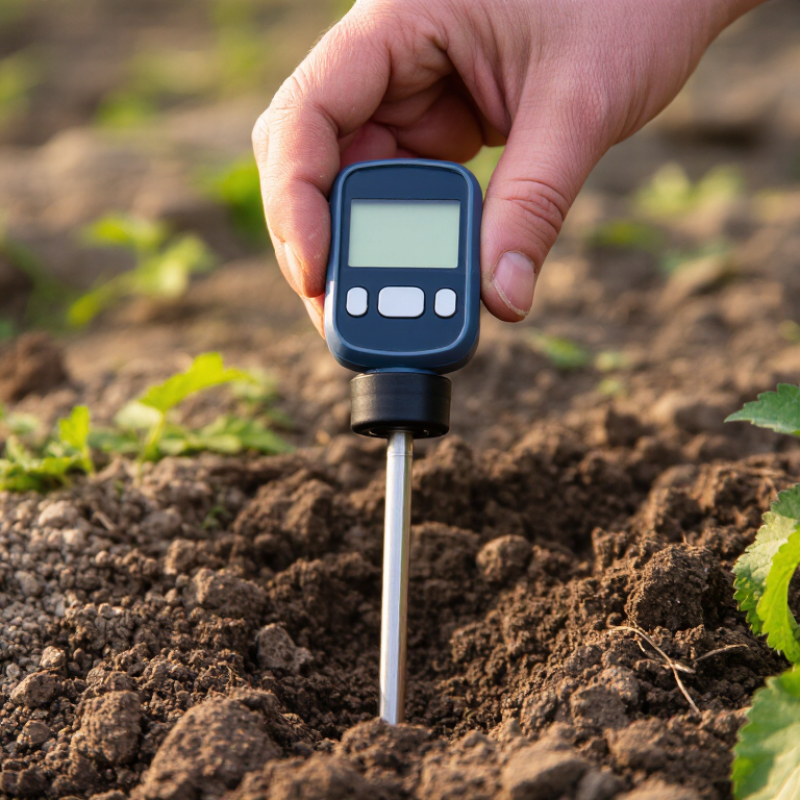
Insert the probe gently into firm soil, making good contact around its sensing tip. Wait for the reading to stabilize, following the instrument’s instructions. Record the depth, location, and temperature together, so later readings are comparable. If the ground is stony, choose another nearby point rather than forcing the probe. One reading can look convincing. It may still be misleading. Soil moisture, sun exposure, and recent rain can all affect the result, so repeat measurements when conditions seem unusual. A simple log can reveal patterns that a single measurement misses.

Inserting the Probe into the Soil Correctly

How to Use a Soil Temperature Probe?

Inserting the Probe into the Soil Correctly

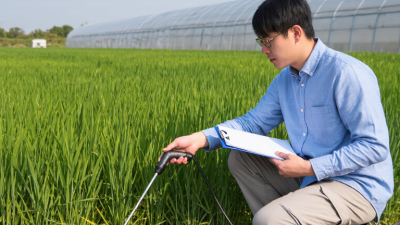
Choose a spot that represents the bed, not a sun-baked edge or a patch beside a wall. Check the recommended depth for your crop or seed; planting guidance may differ. Push the probe straight down until its sensing section reaches that depth. Keep the stem steady. Do not force it through stones or hard, dry crust. A bent probe can give unreliable readings, and forcing it may damage the sensor.

Wait for the reading to settle before recording it. This may take longer in cool or uneven soil. Take measurements in several locations, especially in large beds, and note the depth, time, and recent weather. If readings vary, the soil may genuinely be warmer in one area. I sometimes find that one shaded corner changes the picture; it is easy to overlook.

Tips: Insert the probe into moist, workable soil, but avoid waterlogged ground. If the surface is compacted, loosen a small patch gently rather than hammering the probe in. Wipe the sensing end between locations, and follow the instrument’s instructions for cleaning and stabilization. Small details matter. If a number seems surprising, repeat the measurement nearby before changing your planting plans.

Reading and Recording the Temperature

Reading and Recording the Temperature

Choose a representative spot, away from rocks, compost piles, and sunny path edges. Push the probe vertically to the depth relevant to your crop, then wait for the display to stabilize. Record the depth with every reading; a surface reading cannot be compared fairly with one taken several inches down. Purdue Extension agronomy guidance uses 50°F (10°C) at planting depth as a corn-planting benchmark. Treat it as a crop-specific reference, not a universal rule. Soil type, moisture, and local weather also affect planting decisions. Small details matter.

For useful comparisons, measure at the same time each day, preferably before direct sun warms the surface. Take readings in several spots and record the date, time, depth, temperature, and soil condition. A simple notebook or spreadsheet works. If one reading seems unusually high, check the probe in place and repeat nearby; don’t quietly replace the result with a guess. I still miss a measurement now and then. Mark the gap honestly, then resume the routine.

Tips: Wipe the probe clean between locations. Keep it away from your hand while reading, and avoid forcing it into stony ground. Note recent rain, too—it can help explain a cooler reading.

Cleaning and Storing the Probe After Use

After measuring, brush loose soil from the probe tip before it dries into a hard crust. Wipe the metal shaft with a clean, damp cloth, then dry it fully with a soft towel. For readings across different plots, clean the tip between locations to avoid carrying soil and organisms from one spot to another. The FAO’s 2020 State of Knowledge of Soil Biodiversity report notes that soil supports more than 25% of global biodiversity. Small transfers can matter. EPA field-sampling procedures also treat equipment decontamination as an important control against cross-contamination. Don’t soak the handle or use solvents unless the probe’s instructions allow it; seals and electronics vary.

Check the narrow seam around the tip. Soil hides there. I sometimes find a thin ring of residue after the shaft looks clean, so a second wipe is worth the few seconds. Let the probe air-dry completely before fitting its protective cap. Store it in a dry case, away from fertilizer dust, direct sun, and heavy tools that could bend the stem. If the probe uses batteries, follow its storage guidance; remove them for extended storage when recommended. Keep the care instructions with the case, since water resistance and cleaning limits differ between models. EPA’s Field Sampling Procedures Manual (2017) provides a practical reference for equipment decontamination, while the FAO report gives context for protecting soil life.